5 Insider Tips to Improve your Product Photography
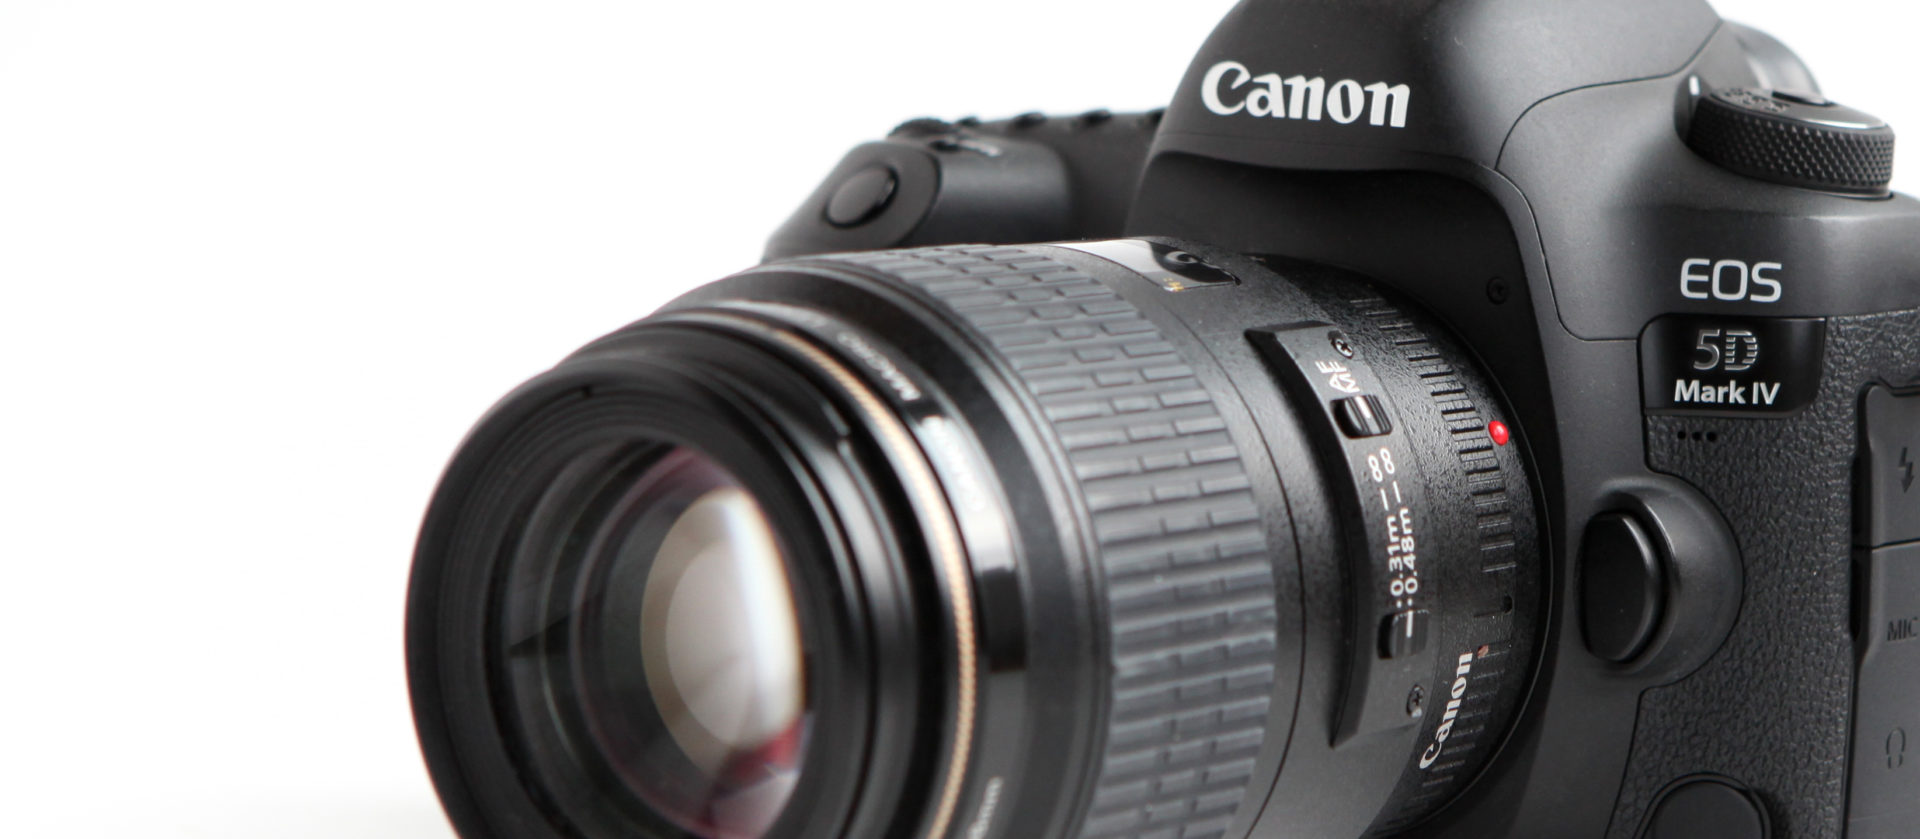
So you are interested to take charge of your product photography but you don’t know where to begin. Here are 5 great tips from the professionals to get you started.
Tip #1:
SIMPLIFY YOUR BACKGROUND

Product photos are a bit different than other types of photos, in that, the sole purpose of this type of photo is to sell a product. This means it is best to eliminate any confusion about what is actually being sold.
The product should never have to compete with a distracting background and should be in the metaphorical spotlight of a product photo. It is best to abide by the rule “less is more” in this particular case.
There are lots of different options for a background in a photograph such as draping a solid piece of fabric. But avoid busy printed fabric if the product has a busy label or design. Be aware that the folds in a fabric drape can add a bit of texture into a photograph. If fabric is too distracting and takes away from the the product as being the focal point, then you might want to try something else like a white or solid-colour wall.
As other alternatives, there are many photography backdrops for purchase throughout the internet marketplace. But be sure to choose something that will not compete for attention with your main product.
Tip #2:
USE CONTRASTING COLOURS AND TEXTURES
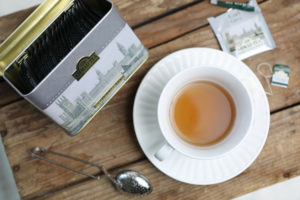
It is a great idea to use contrasting colours and textures in your photograph. This will make the product stand further apart from the background.
Knowing what colours compliment each other is a real benefit and can help improve your product photos.
Notice in this photograph, the white porcelain of the teacup contrasts with the rustic feel of the wooden box it sits on.
Other examples of using contrast is a shiny metal product against an organic textured background. Or using printed fabric, if the product has a sleek, simple design. If a product is a bright colour, consider using a background that has softer, muted tones.
Tip #3:
USE A TRIPOD
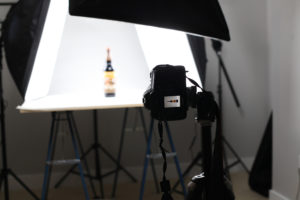
No matter how steady your hand, the camera can detect the slightest movement, especially in lower light. The slightest movement can make your photograph slightly blurry around the edges of a product. With product photography, a crisp image is best.
If you are using a hand-held mobile device to take your photos, there are many options for phone tripods in the marketplace. It is best to use the sturdiest tripod you can afford.
And for extra stability, try using a remote to trigger the camera’s shutter. Interestingly, did you know that the volume button on your iPhone’s plug-in earphones will trigger the camera’s shutter without clicking the button with your finger?
Tip #4:
CONSIDER YOUR LIGHT
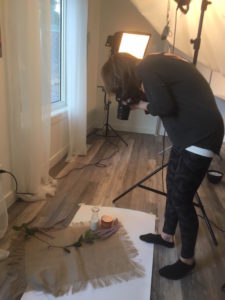
Natural light tends to be the best for a nice, bright, natural-looking product photo. It is recommended to set-up by a window. But you do need to wait for the light to be just right. Keep in mind that direct sunlight can sometimes create “hot-spots” that wash out some of the needed details.
The other potential problem with using sunlight as your only light source, is that it can change from moment to moment depending on the weather or cloud coverage. This is fine when you only have a few items to photograph, but can quickly become a problem when capturing consistency in a large collection of product photos.
In the case of a large quantity of product photos, you might want to consider investing in the proper photography lighting equipment.
Tip #5:
CONSIDER YOUR PROPS
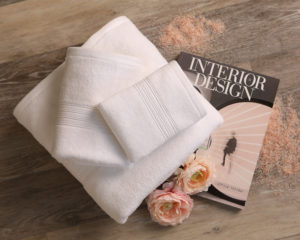
Adding props to your product photos, can add a dimension of interest but you must be careful to choose the right ones for your photo. Props can add to your visual story but you need to choose the props that make the most sense in the context of your final image or it can have a distracting affect.
Remember the main purpose of your product photo is to sell. You do not want to distract from the main product you are selling. Don’t confuse your audience into thinking that the props are included in the sale of the main item. Again, “less is more” is a good rule of thumb when choosing props.
Most people are unaware that there is an entire industry of photograph styling, where designers hone their skills of choosing just the right prop to enhance each photograph.
This is just the beginning to your exciting new endeavour. Product photography can be a challenge but also opens you up to a world of creativity. There is so much to learn but, hopefully, if you play around with these 5 tips you will see an improvement in the photos you take.
And, if you liked these tips. We’ve got more. Click here to download the PDF of 3 more tips plus some BONUS advice for photography equipment from our head photographer.